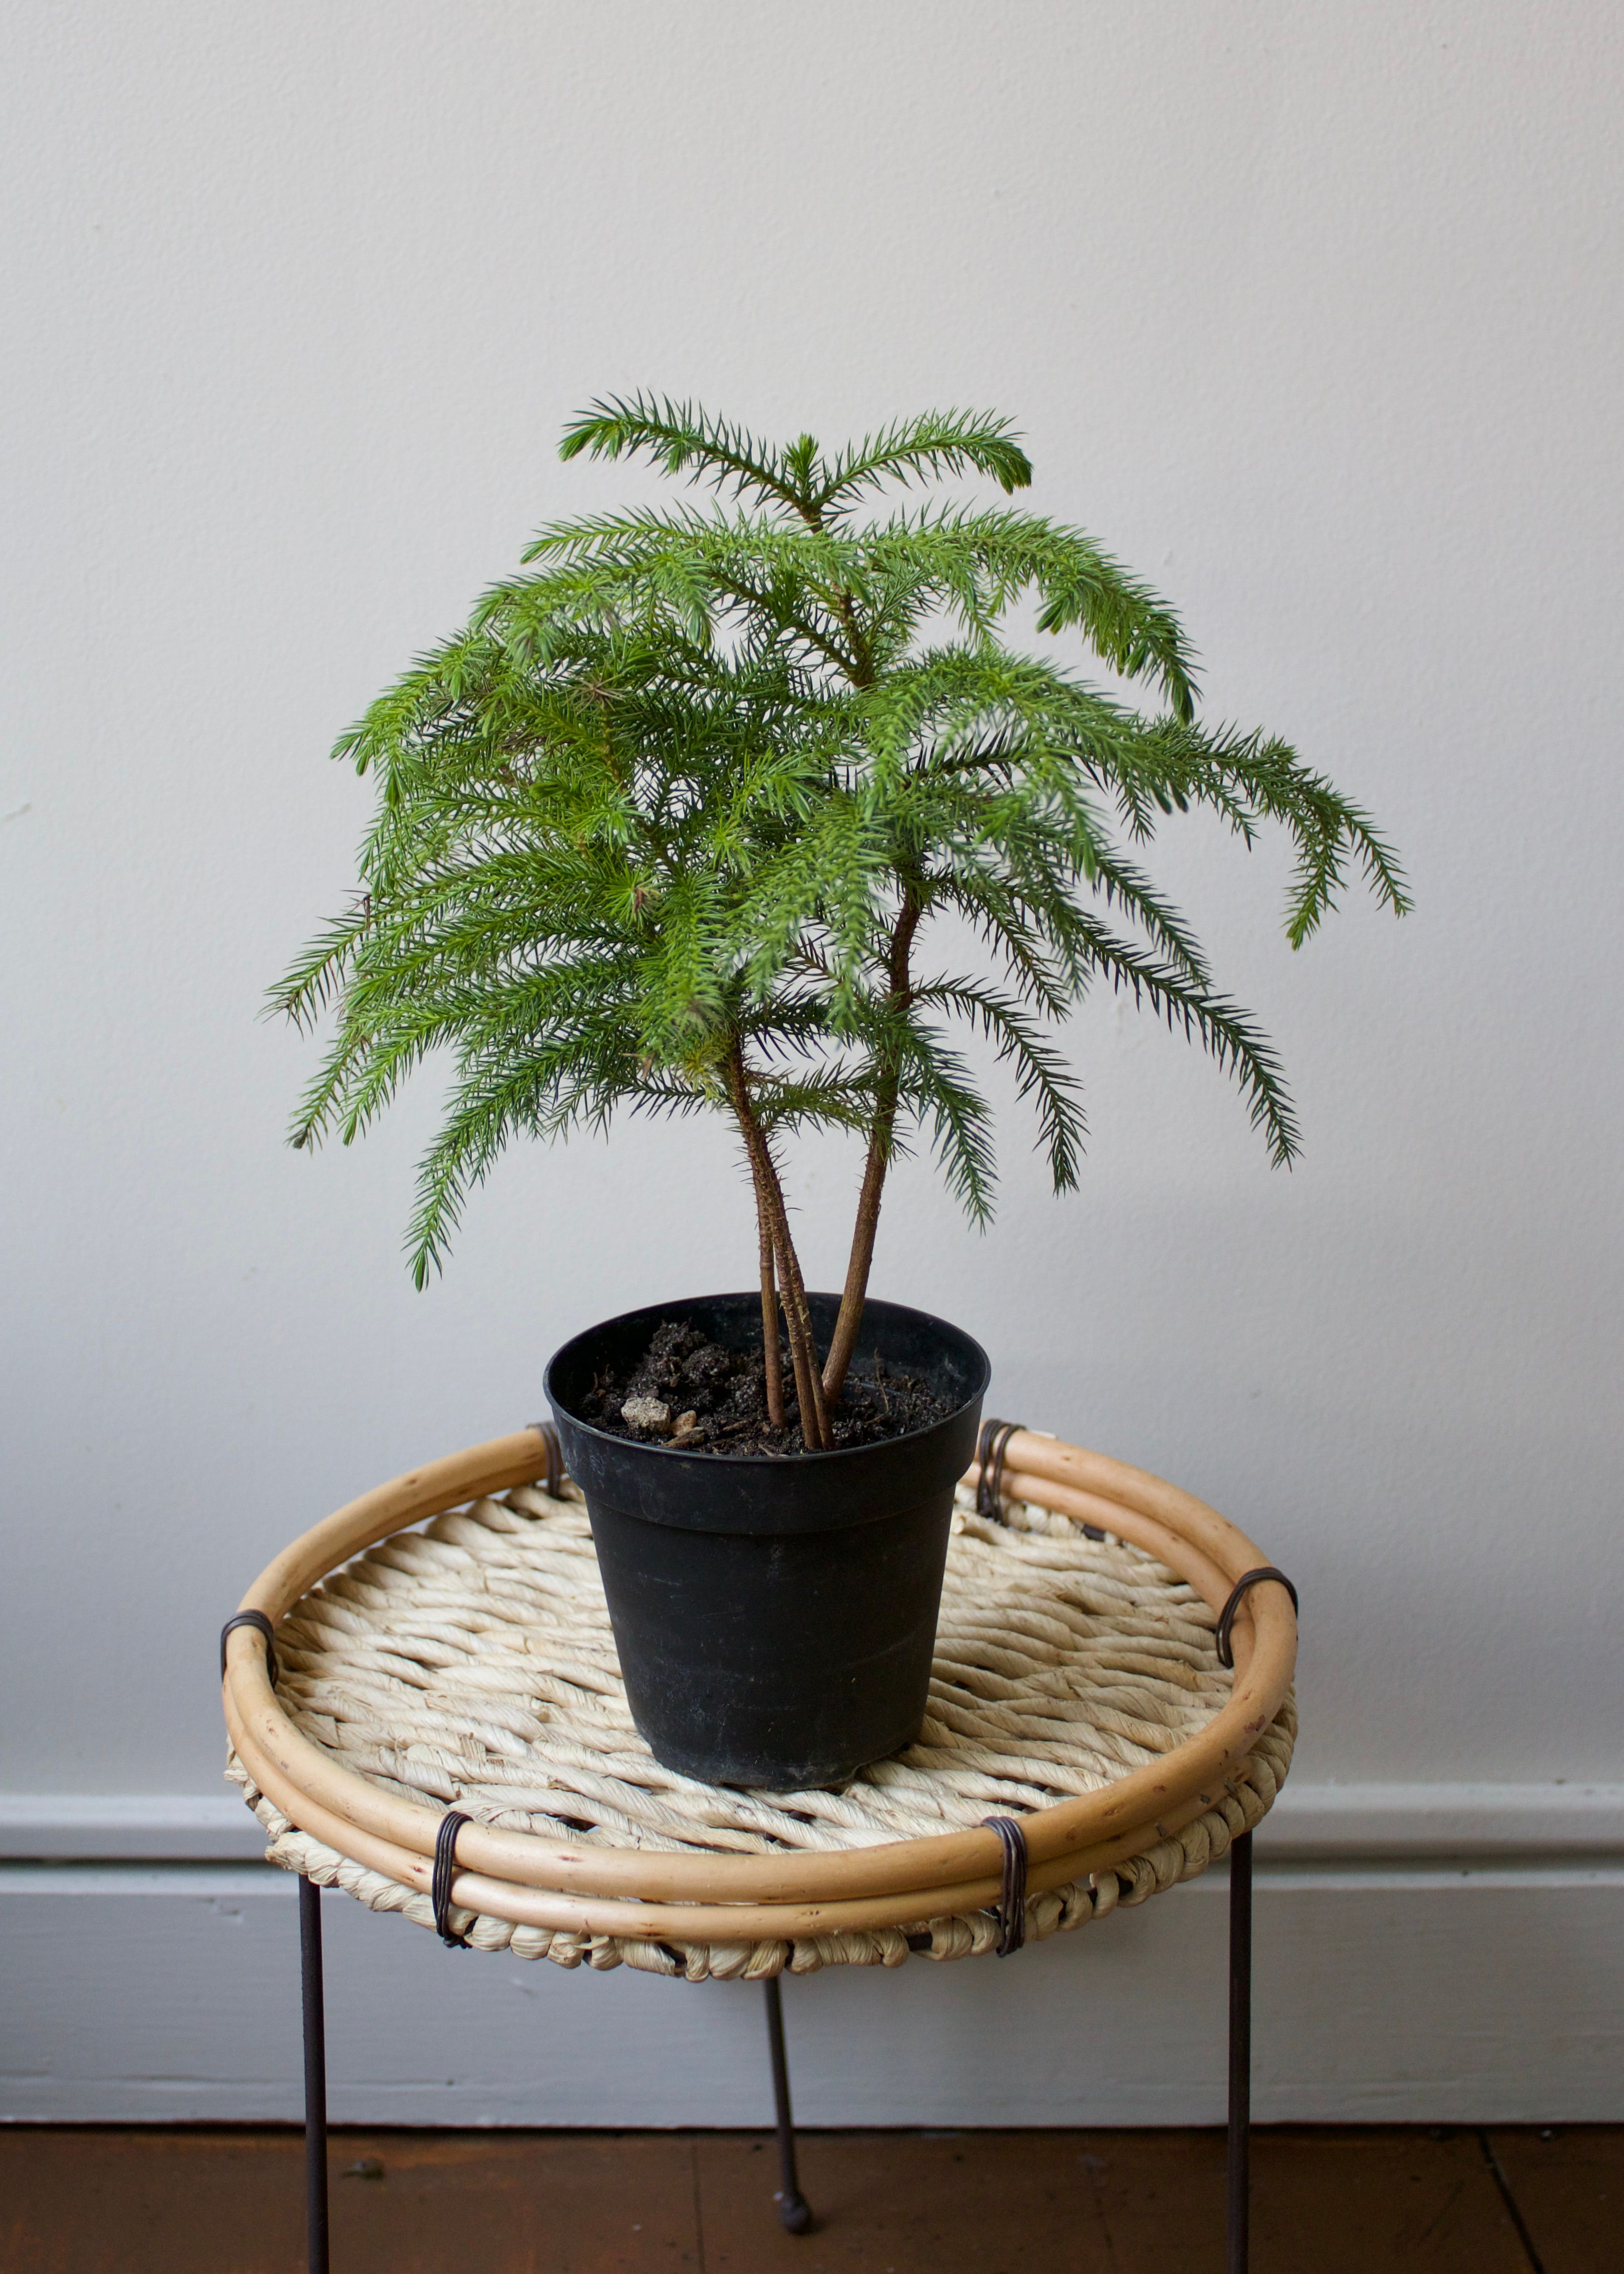
Norfolk Island Pines bring a soft, feathery, evergreen texture into your home, looking like miniature Christmas trees all year round. Though they look like classic pine trees, they are actually tropical conifers native to the South Pacific.
At Over Grown, we love Norfolk Pines for their striking symmetry and lush, needle-covered branches. Given the right blend of bright light and consistent moisture, they are wonderful indoor trees that can stay by your side for years as a unique addition to your plant collection.
Essential Norfolk Pine Care Requirements
Norfolk Pine Lighting
Coming from sun-drenched islands, Norfolk Island Pines crave light more than most other traditional houseplants.
- Ideal light conditions: Bright light/bright indirect light is essential for keeping these plants lush. Place yours right next to a sunny south or east-facing window where it can receive several hours of sunlight each day.
- Need for symmetry: Norfolk Pines naturally reach toward their light source. Rotate your plant a quarter turn every time you water to ensure straight, balanced growth.
- Avoid: Low-light spots. Without sufficient light, the tree will drop its lower branches, which unfortunately will make it look bare over time.
- Signs of improper light: Pale, weak needle growth or rapid shedding of entire lower branches means your tree is wanting a much brighter spot.
Norfolk Pine Watering
Unlike true outdoor pines that tolerate freezing temperatures and dry spells, Norfolk Pines are tropical native plants that need consistent soil moisture.
- How often to water: Water thoroughly when the top 25–30% of the soil feels dry to the touch. Ensure you soak the entire root ball until water flows freely out of the drainage holes.
- Check the soil: Use your finger to check moisture depth. They prefer a steadily, lightly moist environment - never bone-dry, but never sitting in stagnant water.
- Avoid: Letting the soil dry out completely. Extreme drought causes the lower branches to go crisp, turn brown, and drop off permanently.
- Signs of improper watering: Yellowing needles and limp branches can mean overwatering, while crispy, drooping, or shedding lower branches indicate the soil stayed dry for too long.
Norfolk Pine Soil and Fertilization
Because Norfolk Pines need consistent moisture without suffocating their roots, a dense or compacted soil mix will lead to rapid root decay.
- Potting medium: A rich yet highly draining blend is ideal. We recommend and use Rosy’s Houseplant soil blend to ensure air pockets remain open around the root zone.
- Fertilizing: Feed your Norfolk Pine with a gentle, balanced liquid fertilizer every 4-6 weeks during the spring and summer growing months. Our liquid fertilizer drops are a simple way to keep them nourished without burning their roots.
Norfolk Pine Humidity & Leaf Care
High air humidity is the true secret to keeping your Norfolk Pine’s needles soft, vibrant, and deep green.
- Methods to increase humidity: They thrive best in ambient humidity levels of 50% or higher. Running a nearby humidifier or grouping your tree with other tropical plants keeps the branch tips soft and prevents needle drop. For more tips on increasing humidity, check out our blog, ‘Humidity 101’.
- Mind the heat vents: Keep your tree far away from active radiator vents, fireplaces, or air conditioning blasts, which dry out the needles instantly.
- Clean the foliage: Give the branches a gentle misting or shower under lukewarm water every couple of months to rinse away dust and keep the foliage processing sunlight efficiently.
Norfolk Pine Pests and Treatment
While relatively hardy, dry indoor winter air can make Norfolk Pines susceptible to a few common pests.
- Common Pests: Watch closely for Spider Mites (tiny webbing between the needle clusters) or Scale insects (small, brown armor-like bumps adhering to the wooden main trunk).
- Treatment: Isolate the tree immediately. Gently spray down the branches and apply a thorough coating of our Plant Protect Spray to clear out hidden pests. For more identification and treatment tips, visit our blog, ‘Identifying & Treating Houseplant Pests.’
Common Problems and Solutions
Norfolk Pines will give you unmistakable visual signals if their lighting or watering routine needs a tweak.
Lower Branches Turning Brown and Dropping
- Causes: This is the most common issue with Norfolk Pines. It is almost always caused by prolonged underwatering, extremely low humidity, or placement in a spot that is too dark.
- Solutions: Once a branch turns brown and woodens, snip it off near the central trunk. Increase light exposure, boost humidity with a humidifier, and keep up with a consistent watering routine to protect the upper foliage.
Weak, Floppy Branch Growth
- Causes: The branches feel soft and droop downward due to a lack of sufficient direct sunlight or persistent overwatering.
- Solutions: Move the plant directly into your brightest window and allow the top layer of soil to dry out slightly before pouring more water.
Pale or Bleached Needles
- Causes: Often a symptom of nutrient deficiency or a sudden shift in environment.
- Solutions: Top-dress with fresh soil mix or feed with liquid fertilizer drops during the active spring/summer growing season.
Norfolk Pine Care for Beginners: A Summary
How to keep your evergreen tropical thriving:
- Lighting: Give it the brightest spot in your home - bright, indirect light with a few hours of direct sun.
- Watering: Water thoroughly as soon as the top quarter of the soil dries out. Never let it dry out completely.
- Soil: Use a well-draining, aerated mix that holds moisture without staying soggy.
We hope this guide helps your Norfolk Pine stay lush and green for years to come!