Repotting is one of the most vital skills in a plant parent’s toolkit, but it’s also one of the most intimidating. We often worry about "repotting shock" or picking the wrong size, leading us to leave our plants in the same cramped nursery pot for years.
In reality, repotting isn't just about giving a plant a bigger home, it’s about refreshing the life-giving nutrients in the soil and ensuring the roots have the oxygen they need to thrive. Let’s break down the when, the why, and the how so you can repot with confidence.
Think of soil like a battery. When you first pot a plant, that soil is charged with minerals and organic matter. Over time, the plant "drains" those nutrients. Furthermore, as roots grow, they begin to take up all the space in the pot, eventually displacing the soil. Without enough soil to hold moisture and nutrients, your plant’s growth will stall, and it will become much harder to keep hydrated.
Your plant will usually tell you when it’s feeling cramped. Look for these four signs:
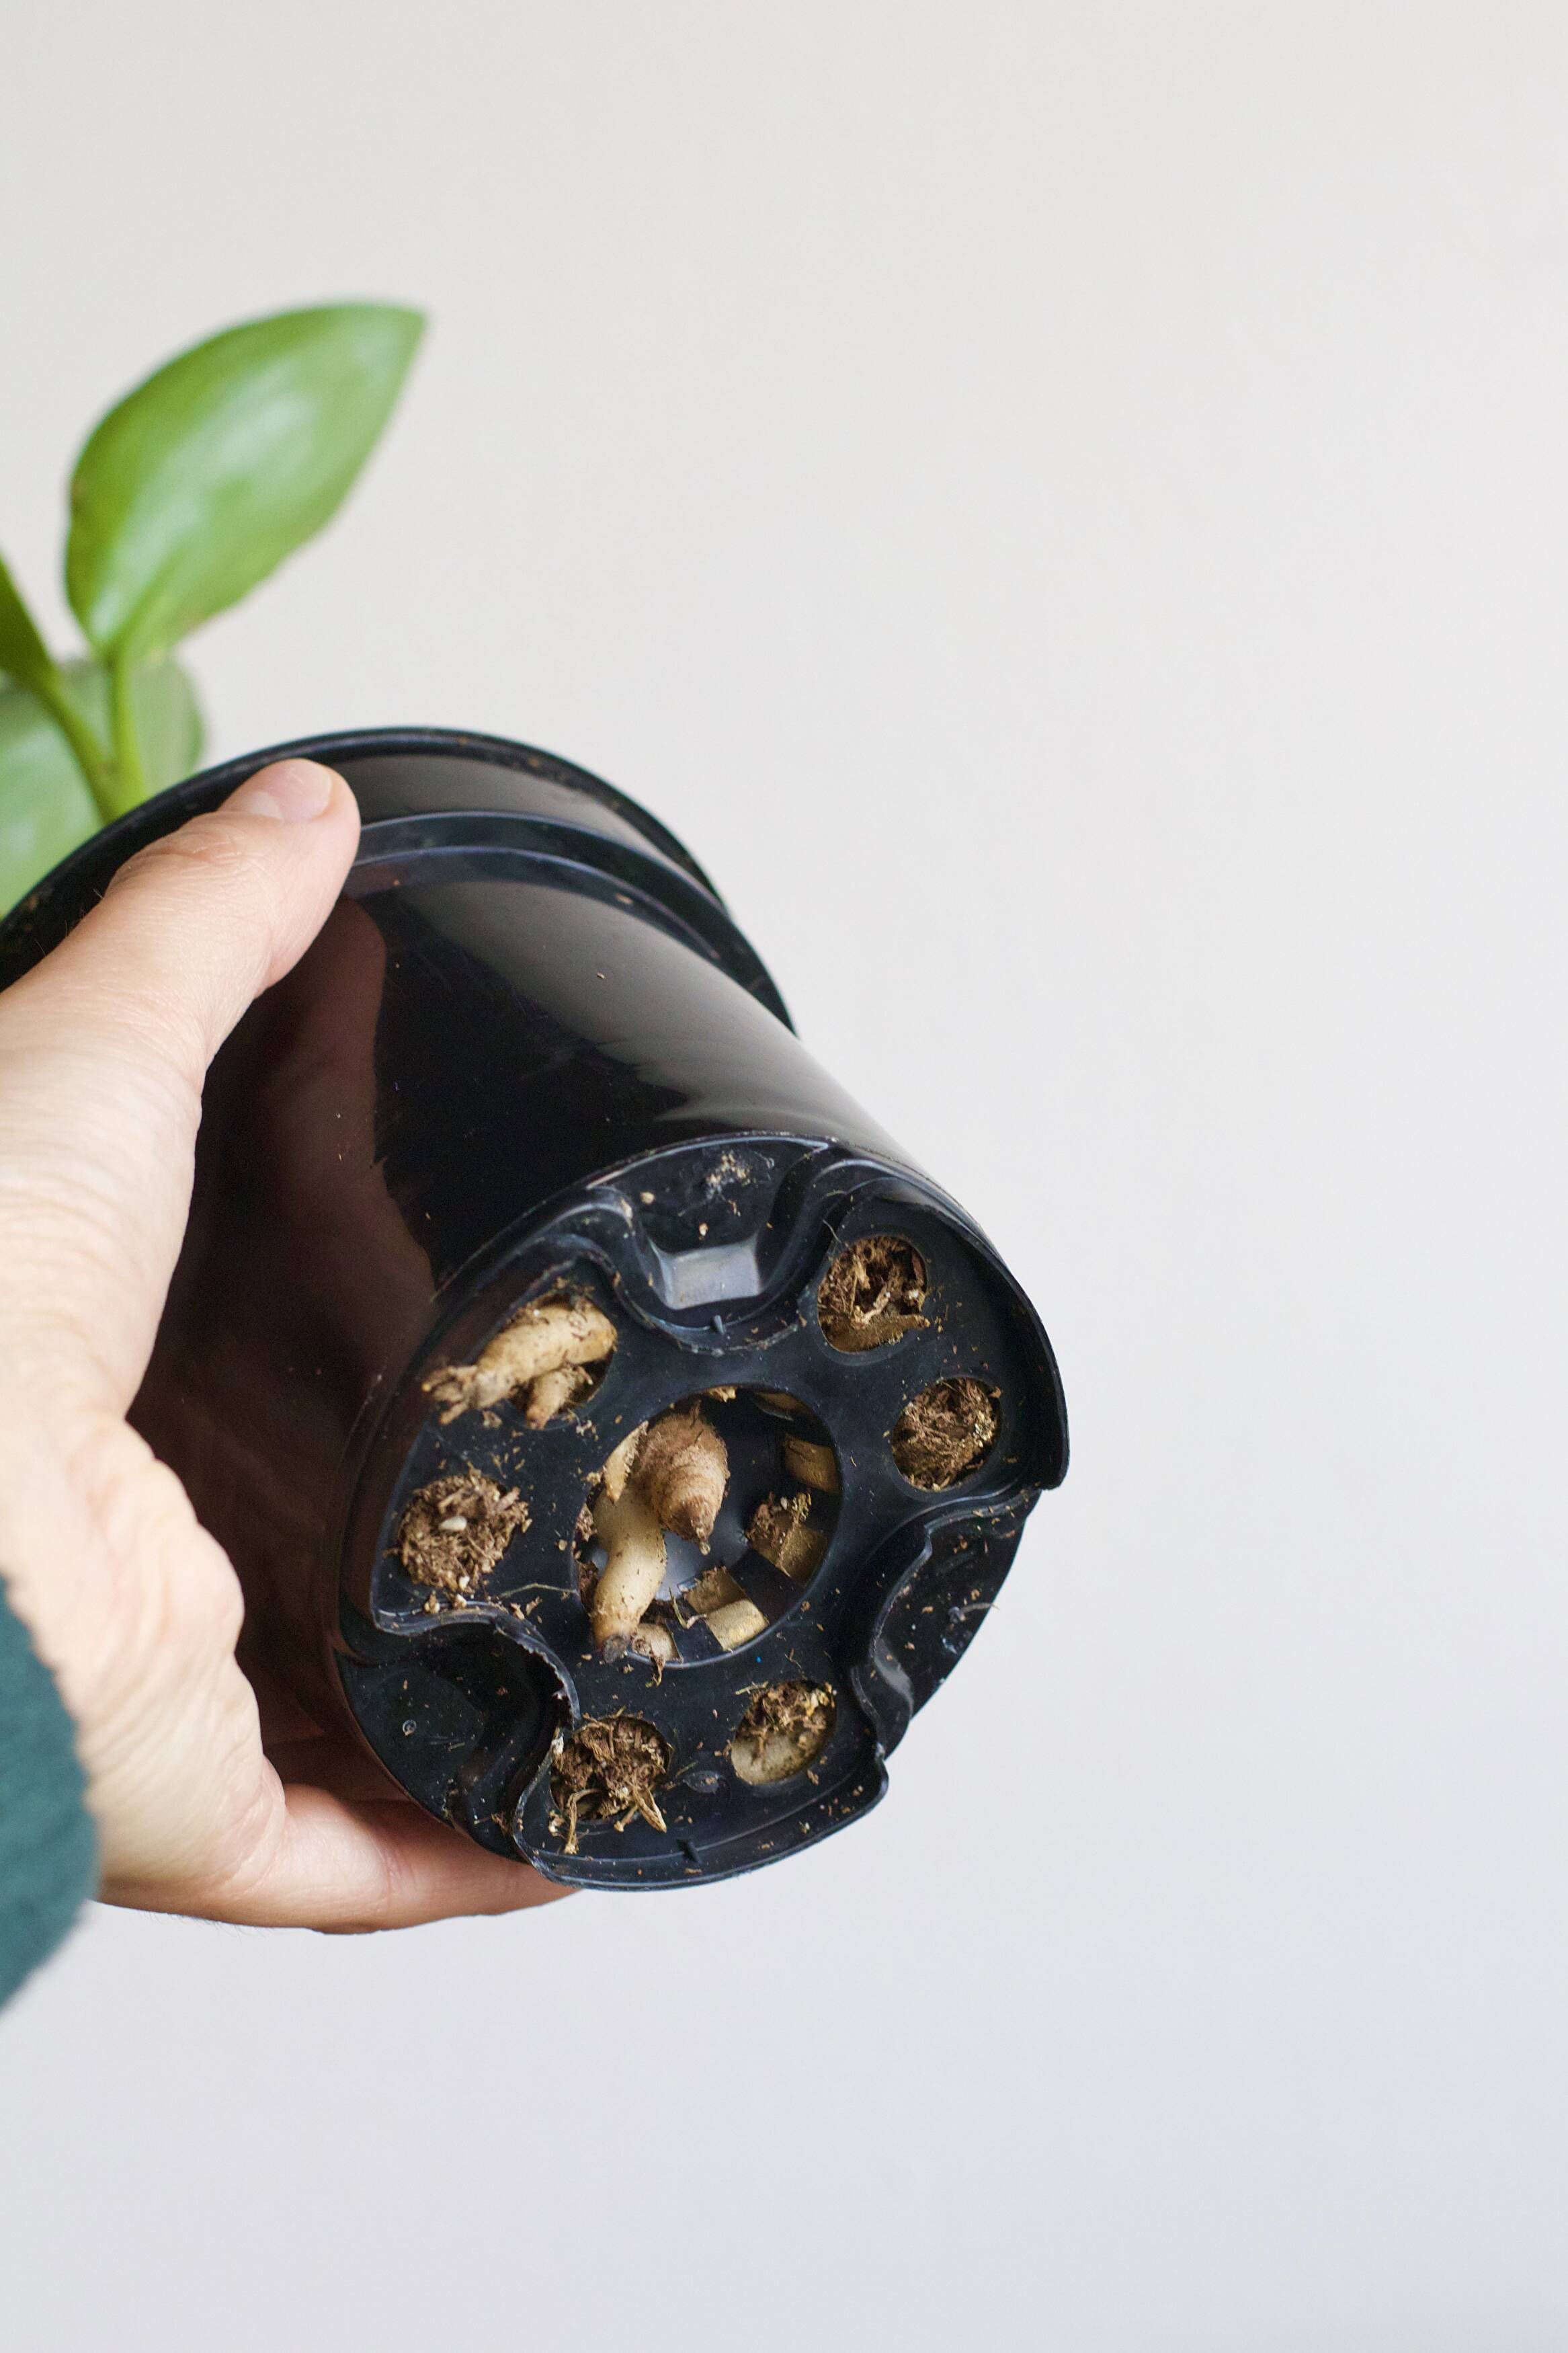
- Escaping Roots: Roots are growing out of the drainage holes or swirling around the surface of the soil.
- Water Not Absorbing: When you water, the liquid runs straight through the pot and out the bottom in seconds without soaking into the soil.
- Top-Heavy Growth: The plant has become so large that it’s literally tipping over its pot.
- Stunted Growth: It’s springtime, but your plant hasn't put out a new leaf in months despite proper light and water.
For even more on these signs, check out our blog, is it time to repot?
- The Right Size: Choose a new pot that is only 1 to 2 inches wider in diameter than the current one. If the pot is too large, the excess soil stays wet too long, which leads to root rot.
- Drainage is Non-Negotiable: Ensure your new pot has at least one drainage hole. If you love a decorative "cachepot" without holes, keep the plant in a plastic nursery liner inside the decorative one.
- The Soil Mix: Most houseplants prefer a "chunky" mix to ensure the roots can breathe. We recommend our in house soil blend, which you can purchase online or in-stores!
Step 1: Prep Your Plant - Water your plant a day or two before you plan to repot. Moist roots are more flexible and less likely to break during the transition.
Step 2: The Gentle Exit - Turn the plant sideways, place your hand over the soil surface with the plant stem between your fingers, and gently wiggle the pot away. If it’s stuck, squeeze the sides of the pot to loosen the root ball. The key is to just be gentle!
Step 3: Loosen the Roots - If the plant is "root-bound" (roots circling in a tight mass), gently tease them with your fingers to loosen them. You don't need to remove all the old soil, unless it was a bad soil blend, but loosening the edges encourages them to grow into the fresh mix.
Step 4: Add the New Foundation - Place a layer of fresh soil in the bottom of the new pot. Sit the plant on top to check the height, you want the top of the root ball to sit about a half-inch below the rim of the pot.
Step 5: Fill and Secure - Fill the gaps around the sides with fresh soil. Press down very gently with your thumbs to remove large air pockets, but don't pack it so tight that it becomes a brick. Tapping the sides of the pot is also helpful for the soil to settle into any air pockets evenly.
Step 6: Post-Repotting Aftercare - Give your plant a thorough drink of water to help "settle" the soil around the roots, then place it back in its usual spot. Don't worry if it looks a little "sad" at first, it's just adjusting to its new home!
If you’re still nervous about tackling a big repotting project alone, come see us! We love helping our community grow their confidence along with their plants, and we do offer repotting services!
As always, our in-store employees are also available to provide personalized guidance and assistance with your plant questions. If you're looking for more expert advice, exclusive content, and a community of fellow plant lovers, be sure to sign up for our newsletter below!